6 Tips for Installing Banners on Temporary Fencing
Blog
If you’re considering installing Banner Mesh on your temporary fencing, here are our best tips for a successful installation.
Tip 1 – Measure
Before ordering Banner Mesh for your temporary fencing, if possible, please provide us with the height of the mesh infill panel. Measure from below the top rail to above the bottom rail. This will ensure your banners fit well and sit flat on the fence panel.
If you’re ordering for the first time or have a tricky installation, our team can advise you on the ideal mesh product for your site. We’ll take into account site conditions, various factors such as wind load, size of fencing, how long you would like to use the banner for, etc. to recommend the perfect solution for you.
Tip 2 – Get help
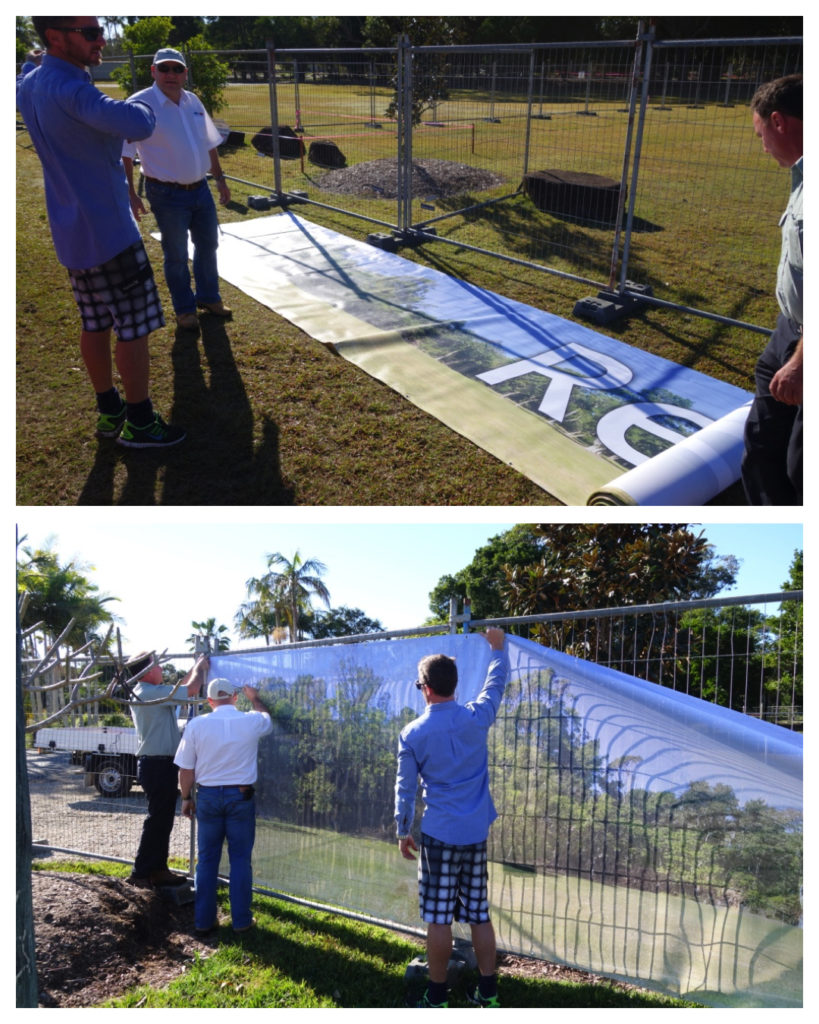
If possible, plan to schedule the installation for when you have someone available to help you. Choose a day when weather conditions are favourable.
Tip 3 – Use SiteSmart cable ties
Your Banner Mesh is finished with eyelets. Please ensure you use SiteSmART’s recommended cable ties with every eyelet for best results.
Tip 4 – Take care of your banner
Maintain your banner by regularly checking the tension and making any adjustments as necessary.
Tip 5 – Let it drop
If there is bad weather forecast (strong winds / storm), go along the top of your banner and release the cable ties, letting the banner drop to the ground. This will prevent damage from excessive wind pressure during the weather event.
Tip 6 – Follow instructions
If you require more information regarding installing Banner Mesh products, we can help with step-by-step video instructions for completing the installation professionally.
Prefer to watch a video? You can view a practical demonstration here.